


📌 Have a look at the full source code at github.com/jayanath/ghost-blog-in-aws 😊
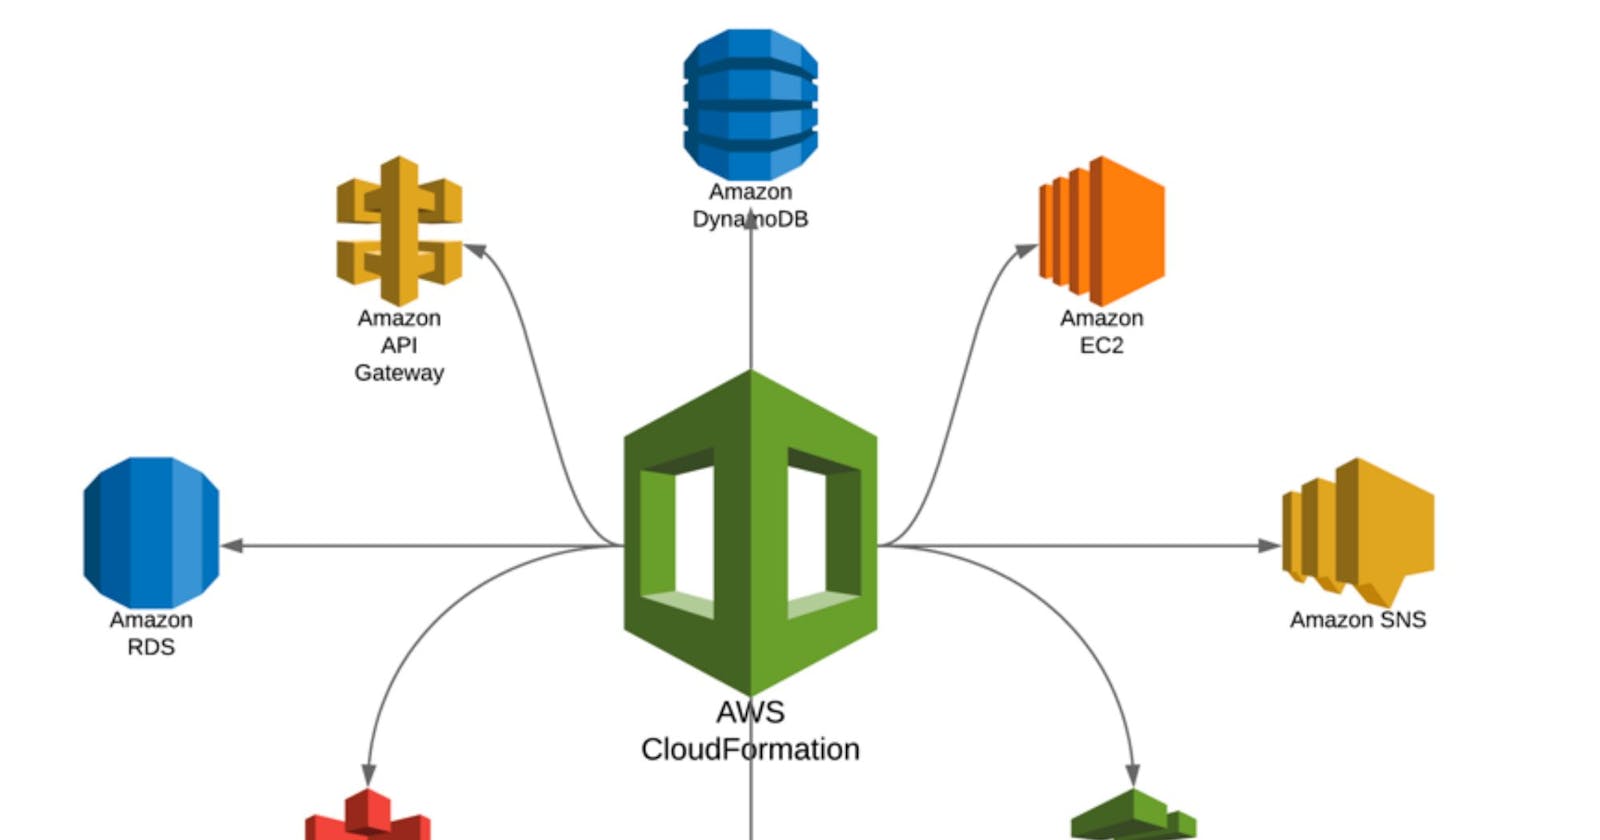
In the Part 02 of this series, we setup AWS CLI and tested that we can access AWS resources using command line. Now we can use CloudFormation to provision our infrastructure.
A new AWS account comes with some default networking components such as, a VPC, a Route table, a NACL, an Internet Gateway and 3 Subnets. However it is best to leave these default components to themselves and provision our own infrastructure from the scratch.
We will have 2 CloudFormation templates, one for the inception of networking and other bits and pieces and another one to deploy the host EC2 and its related components. I tweak this code whenever I get a chance, so please check the Github repository for the latest code.
Inception Template
In this template we export Security Group, Subnet IDs and R53 Hosted Zone ID from the stack so that we can use them for the host configuration using CloudFormation Fn::ImportValue function.
I use a Makefile with few tasks so that it's easier for us to execute AWS CLI commands with ease. The current Makefile looks like this.
Now it's time to test it out. With make all we have to do now is to call make create-inception-stack STACK_NAME=mystack
 |
| Using make target to create the inception stack |
We can check the AWS console to see how it goes on that end.
 |
| ghost-inception-test-1 stack |
This is great 🎉. Now we have the basic setup in place for us to deploy the Ghost host EC2.
Ghost Blog Setup Template
In this template we are using the CloudFormation export values from the previous stack deployment. The Security Group and the Subnet ID values are imported using Fn::ImportValue function.
⚠️ One thing to keep in mind is that the CloudFormation Export values should be unique for the account. We can follow ExportNamePrefix-ExportName-InstallationNumber pattern to keep everything in order.
Since we already deployed the inception stack we can now go ahead and deploy the ghost-blog-setup template.
This time the command should be make create-blog-host-stack STACK_NAME=ghost-blog-test-1
 |
| Using make target to create blog-host stack |
No errors is a good news. From the console, we can check if everything is in place as expected.
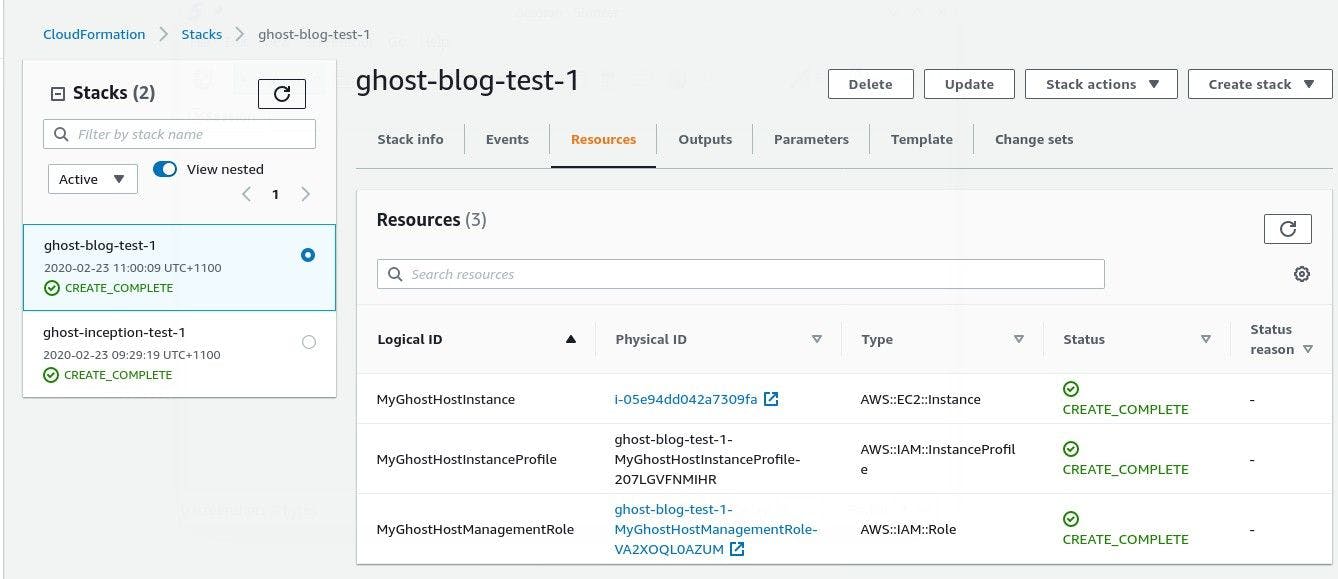 |
| CloudFormation console with two stacks |
Both stacks are in CREATE_COMPLETE state. We can test few more things. SSM is a must to maintain our instance. We will setup SSM from CLI at some point. For now, we can verify if we can get to our EC2 using SSM.
Go to AWS Systems Manager console and click on Managed Instances menu item from the left panel. You should see our new EC2 instance is listed there.
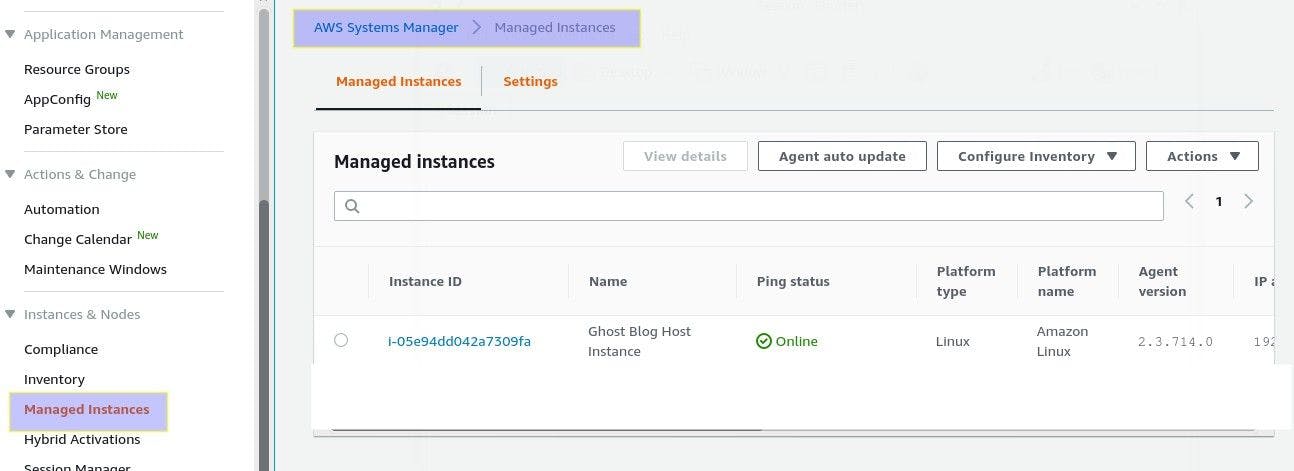 |
| New Ghost EC2 is managed by AWS Systems Manager |
The beauty of CloudFormation shines when we want to delete our resources. If we did Click-Ops (create resources using the AWS console) then it will be a nightmare to keep track of all the resources and delete them one by one, like doing a treasure hunt 🏴☠️. With CloudFormation, all we have to do is just delete the stack!
Once we have everything is in place, the project looks like below in the VSCode.
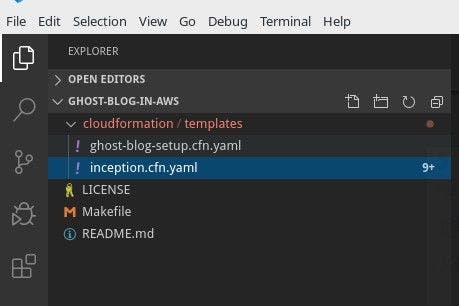 |
| Ghost Blog project in VSCode |
In case you want to try out the entire stack, have a look at my Github repository.
In the next part of this effort, let's update our Ghost host and configure Docker and other bits so that we can have a live blog running.
See you again! 👋