
Deploy Ghost on AWS using CloudFormation - Part 05
Integrate Commento SaaS

Now we have a running Ghost on AWS!. It's alive but something is missing. We need a way to receive some feedback from our readers. Ghost does not have an out of the box solution for commenting. I don't like this part of the Ghost but.. 🤷
Commenting with Commento
I looked at many commenting options such as Disqus, Isso and Utterances. Disqus is slow, clunky and it has some privacy concerns 🤨. Isso and Uttrerrances are promising and I almost got one of those until I discovered Commento. It is open source and comes with features like OAuth, Spam filtering and voting. Best of all, it does not haunt the readers with some random advertisements (Disqus, cough cough). Commento comes with self hosted and SaaS variants. We will go ahead with SaaS for now to keep it simple.
I could find few places that explain how to integrate comments into Ghost installations on an Ubuntu server. I tried that but wanted something that works with containers. I tried to make my own Ghost docker image, tried to use Ghost containers in Ubuntu server containers etc. Finally Ghost custom themes became the ideal solution. We can customise an existing theme, deploy and test locally. Once we are happy, we can import it to our production environment. Below are the steps to follow.
Changes on Ghost theme
- Setup local Ghost development environment by following the documentation
- Log in to production setup as admin and download existing theme

- Unzip the downloaded theme file into
{Local Ghost Root}/content/themes/folder - Get yarn installed with
brew install yarn - Get gulp installed with
brew cask install gulp - Add gulp to yarn with
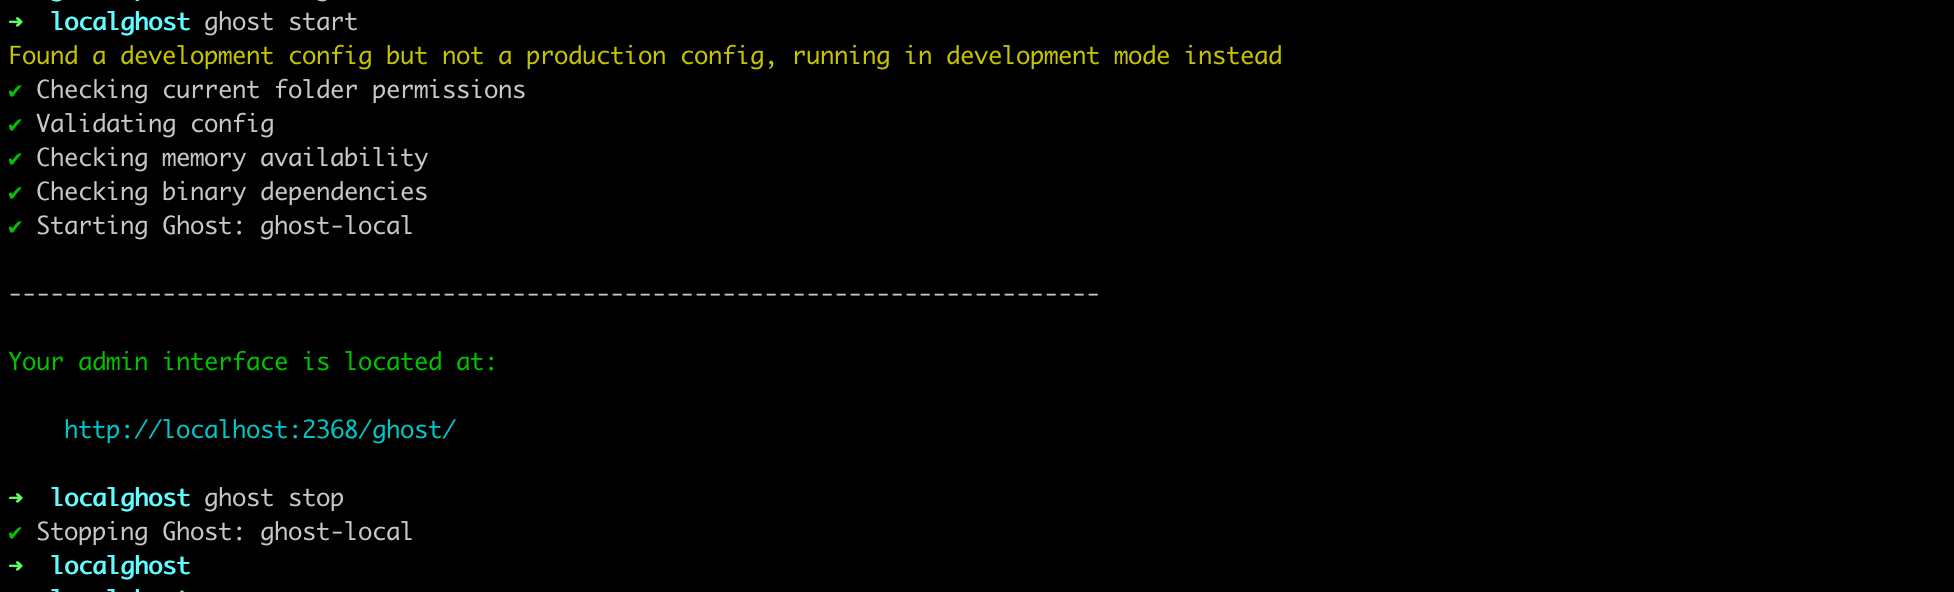
yarn global add gulp-cli - Make sure you have the local ghost up and running with
ghost start - Update
post.hbsas shown below to integrate withcommento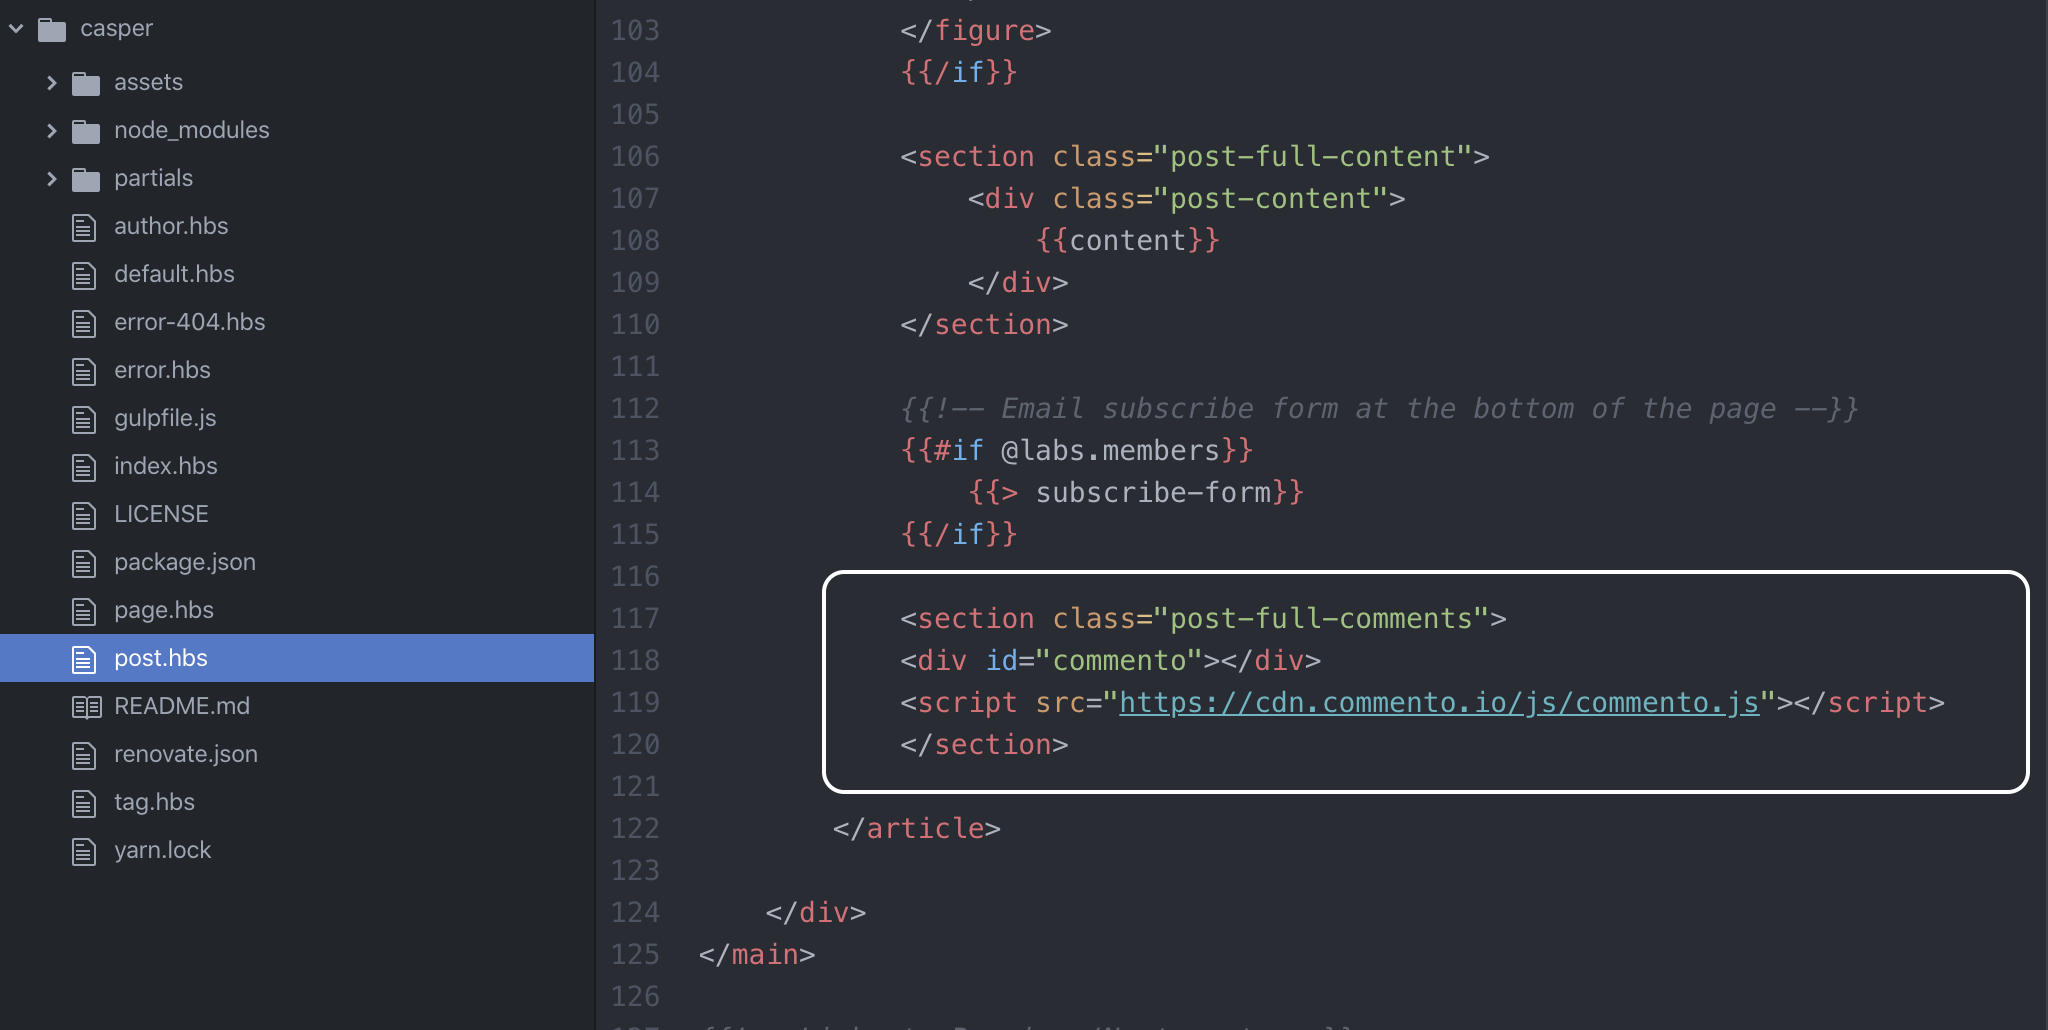
- Build files locally with
gulpand verify the changes. The zip file is saved in thedistfolder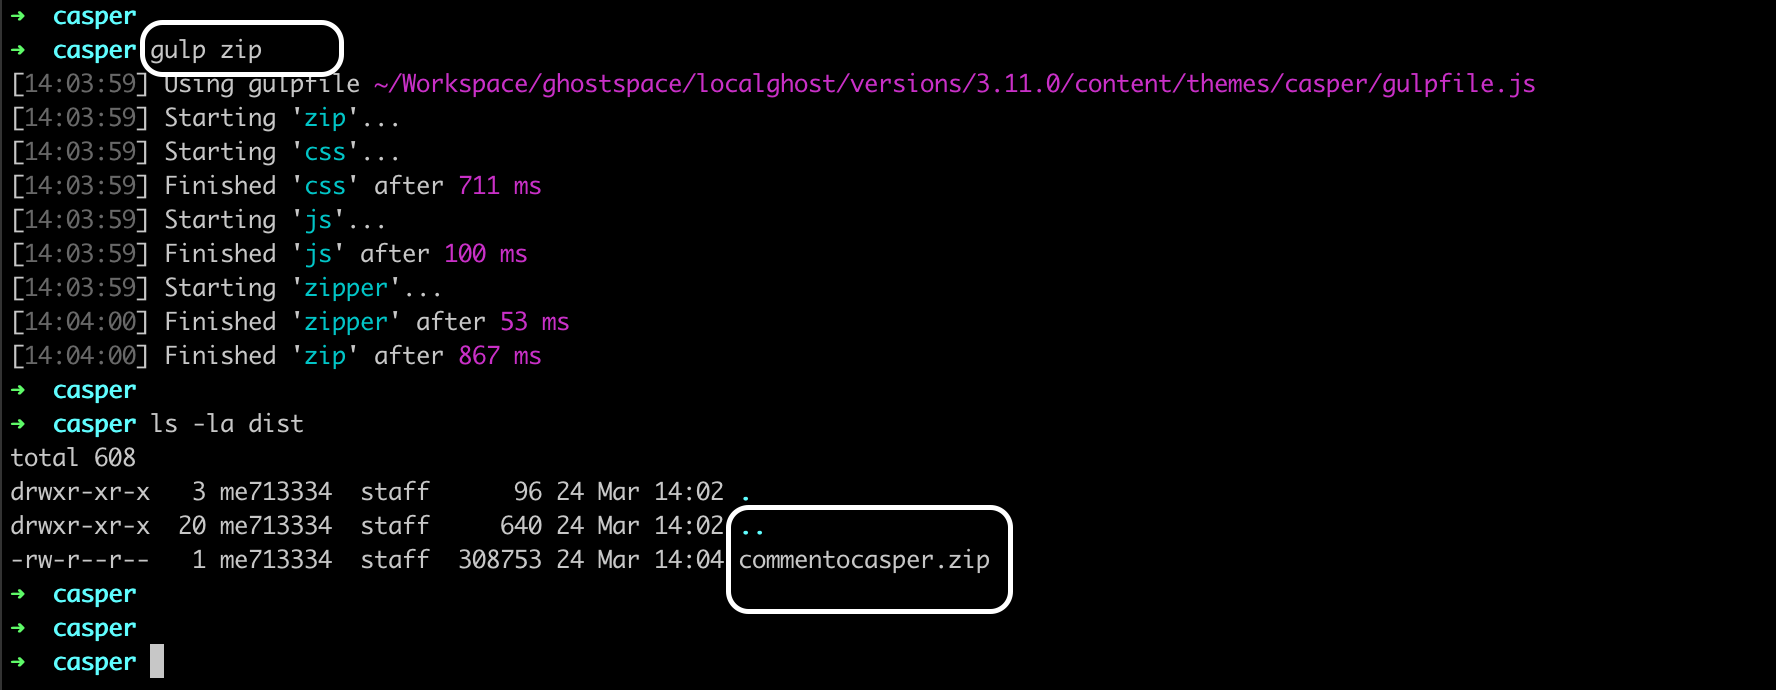
- Run compatibility test against our version of Ghost with
yarn test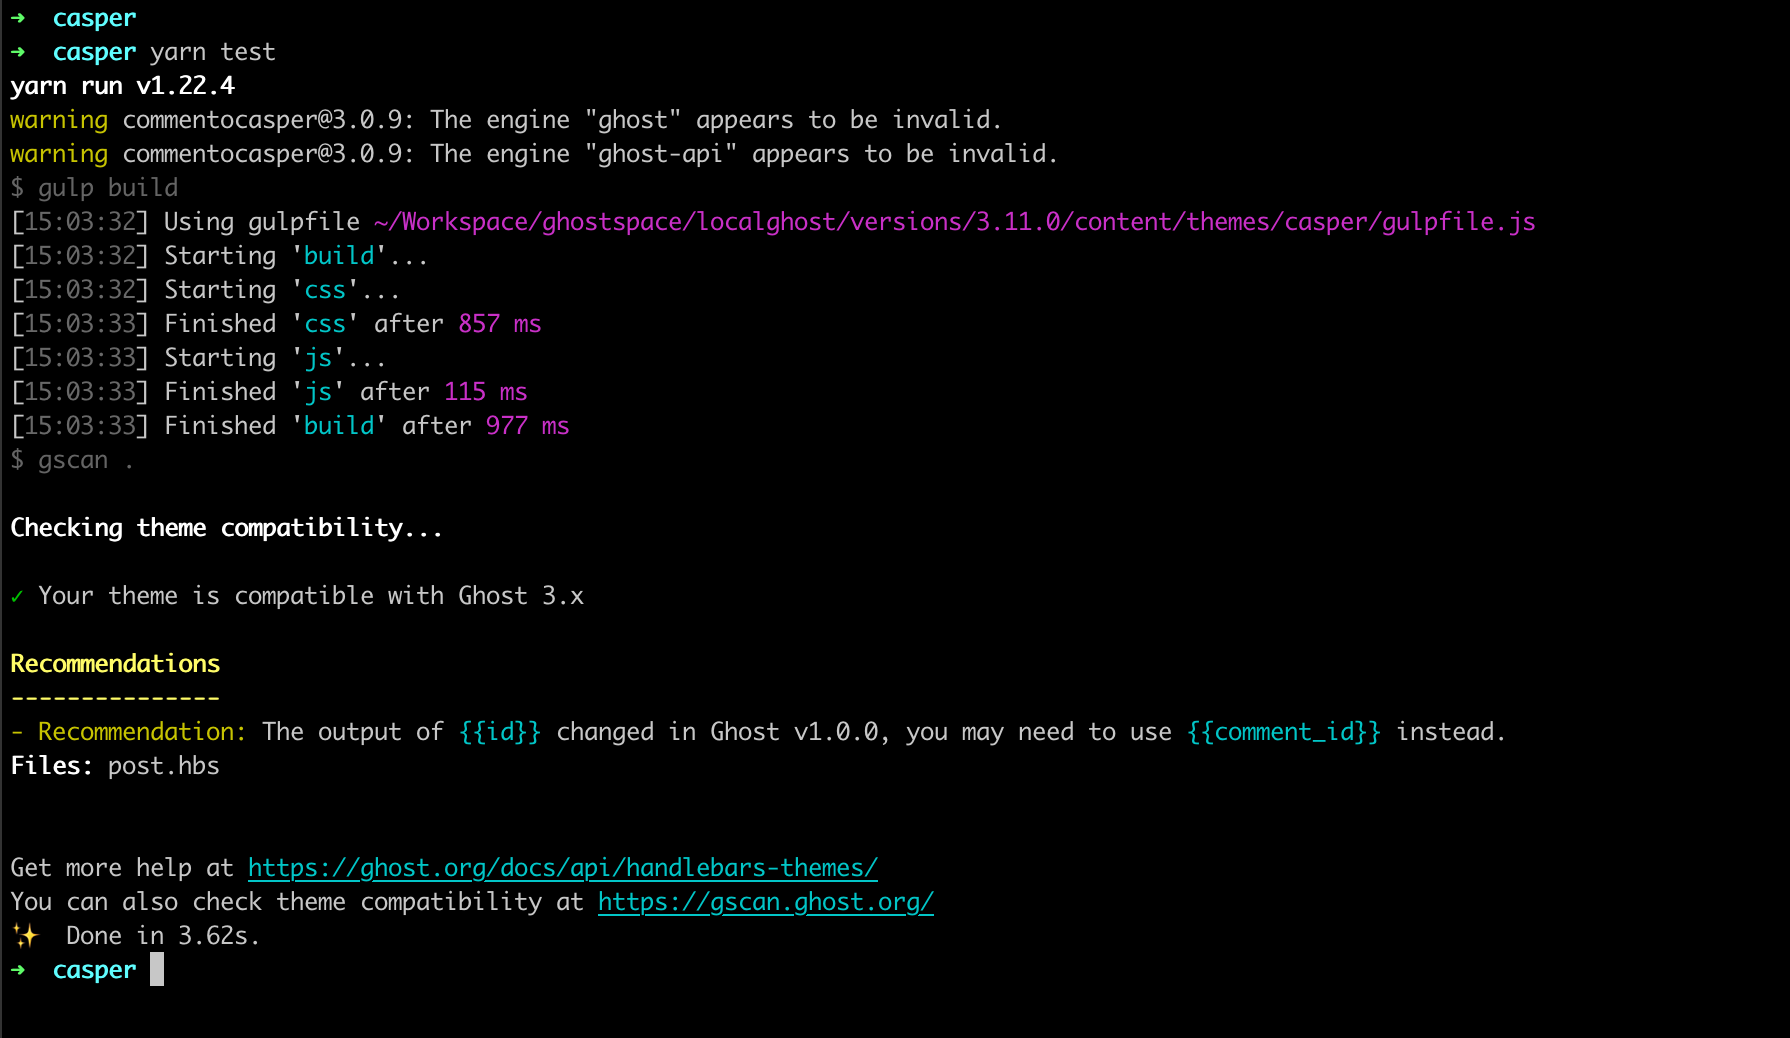 📌 As per the ghost doc we can safely ignore the warnings
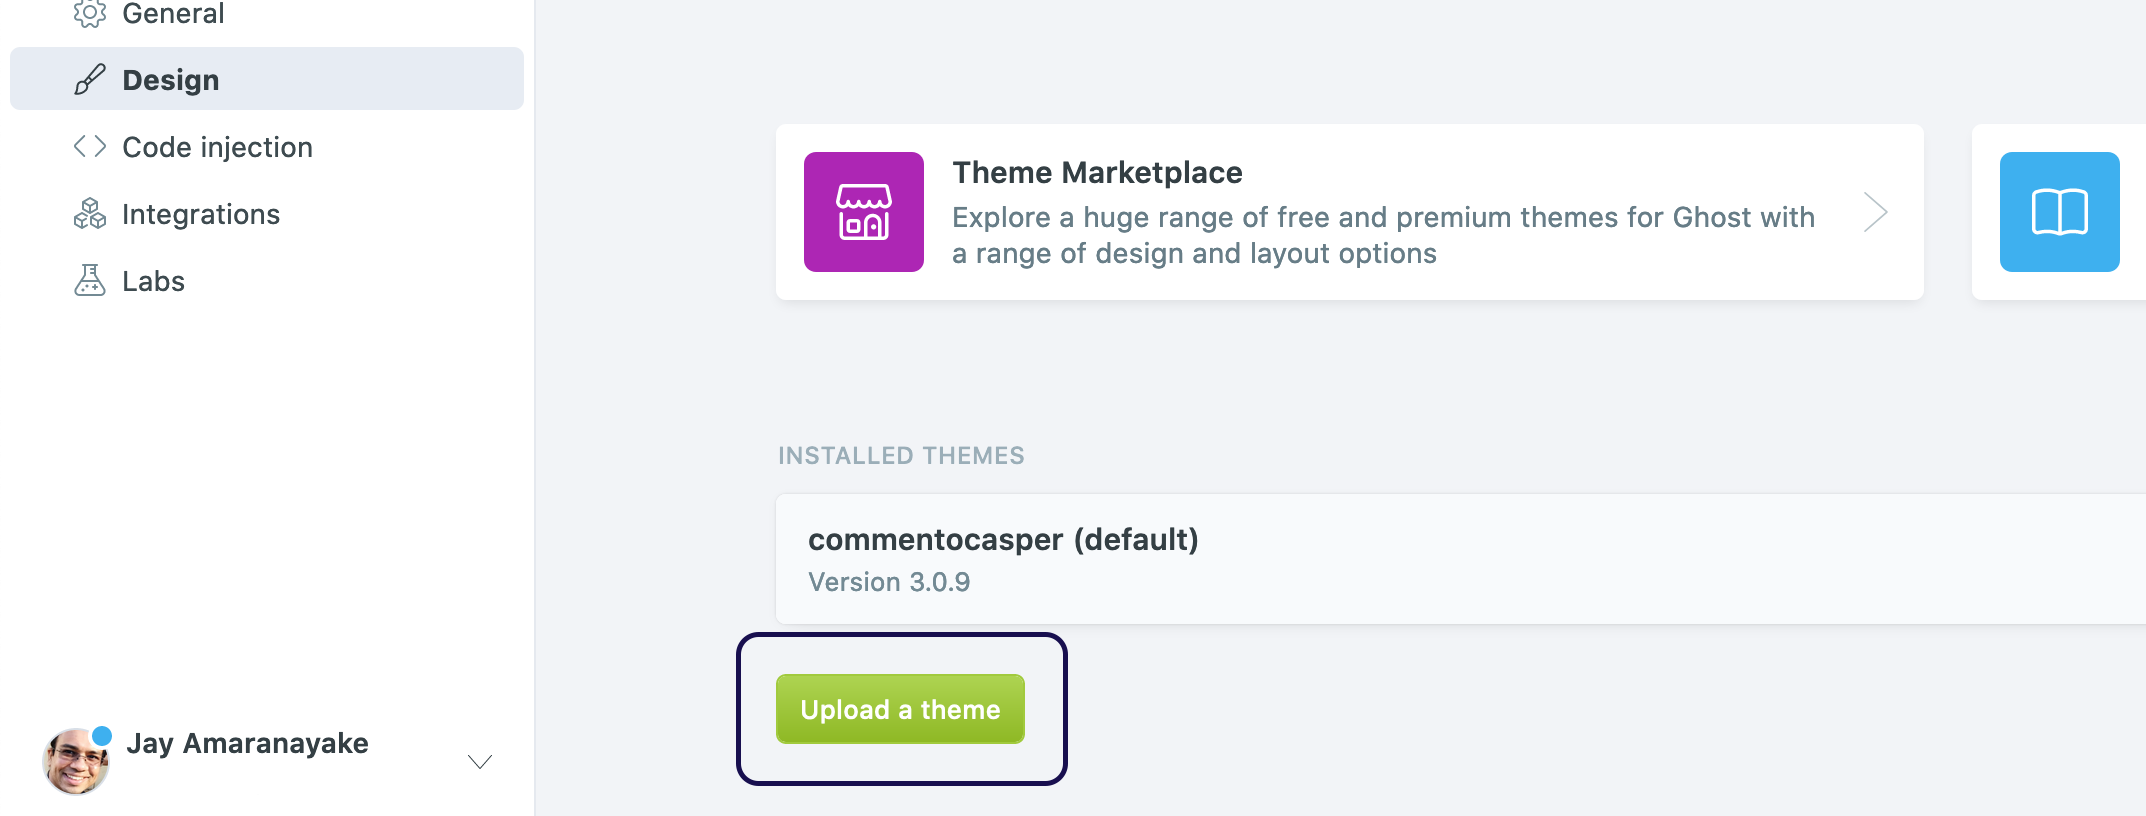
 - Import the zip file into production
Changes on Commento
This is the easiest step. Just go to https://commento.io/. Create an account and register the domain. That's it!
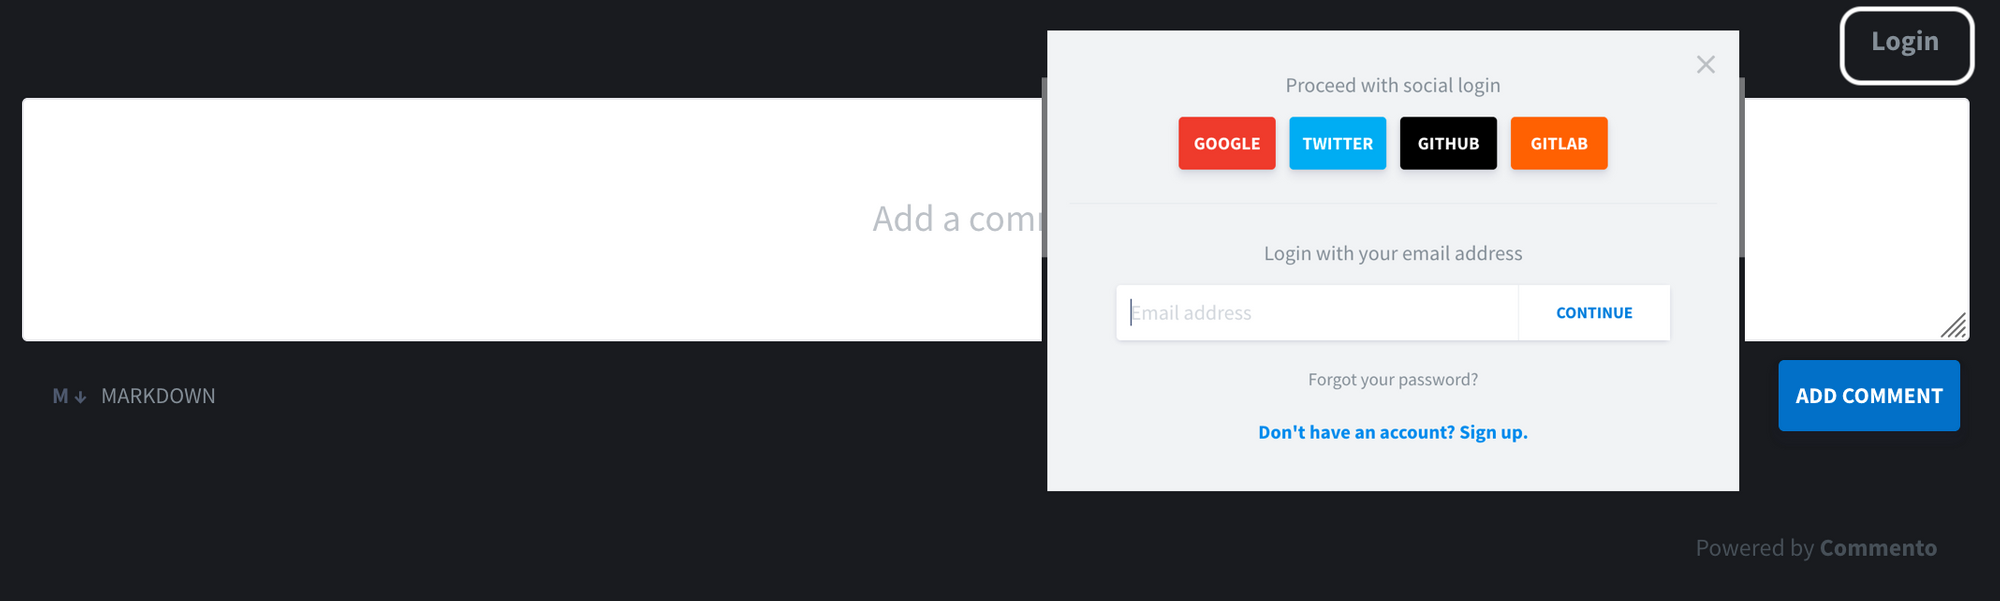 |
| Comments with OAuth |
Commento SaaS version is very easy to integrate but there is a catch. We can't export any comments. So we have to get the self hosted option up and running, sooner than later.
Until next time! 👋